This is the multi-page printable view of this section. Click here to print.
Deployment
Deploy project
- 1: Create a new Deployment
- 2: Development Mode
- 3: Access
- 4: Runner Apps
- 5: Using a Supabase Backend
- 5.1: Set up of a Deployment using Supabase
- 5.2: Correspondance of Data Structures between Logiak and Supabase
- 5.3: How to deploy a new version
- 5.4: Supabase Replication
- 5.5: Supabase Storage
- 5.6: Upload data to Supabase from a Google Sheet
- 5.7: Limits of the Supabase FREE Tier
- 5.8: How an end-user signs up to a Logiak App/Supabase Project
- 6: Using a Firebase Backend
- 7: Using a Device Only
1 - Create a new Deployment
Create Deployment
How to CREATE a new Deployment
A Deployment has two possible modes
- Production Mode
- Development Mode
2 - Development Mode
Development Mode (Rapid development)
Development Mode is a pre-production mode particularly relevant if you want to develop for mobile.
It permits you to deploy to device and exposes controls which allows you immediate updating without going through the normal development cycle of having to
How to switch a deployment to Development Mode
In Development Mode, instead of deploying a named version, you are deploying the current state of the project.
DevMode controls on the device
There are four functions available to you
- Refresh
- Add Component
- Edit this Component
- Zap this App
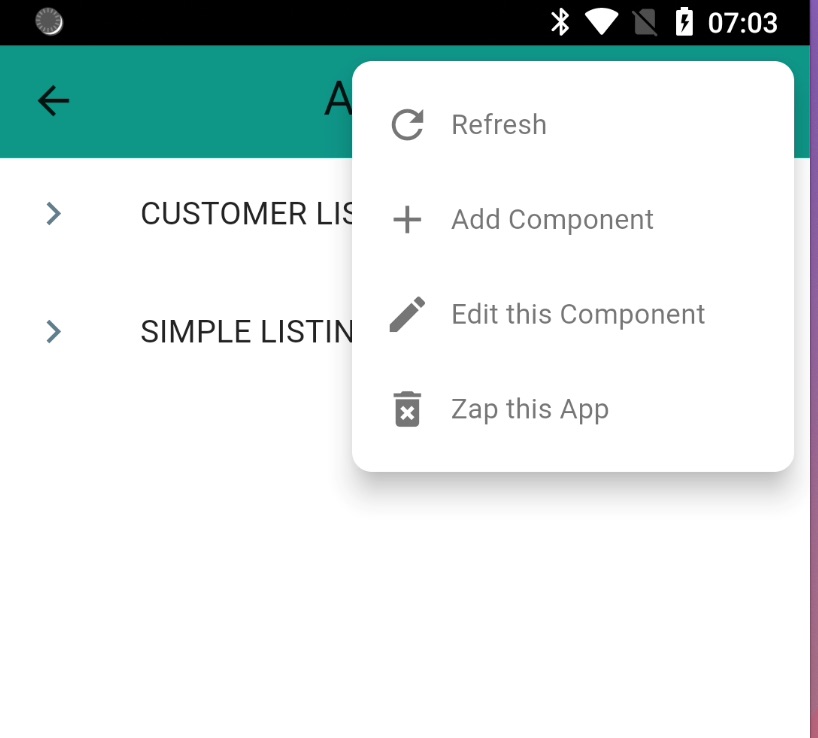
DevMode Refresh
A drop-down appears in the deployed App which permits you, among other things, to Refresh the device with the latest changes you have made.
A configuration change in the server is immediately seen on the device
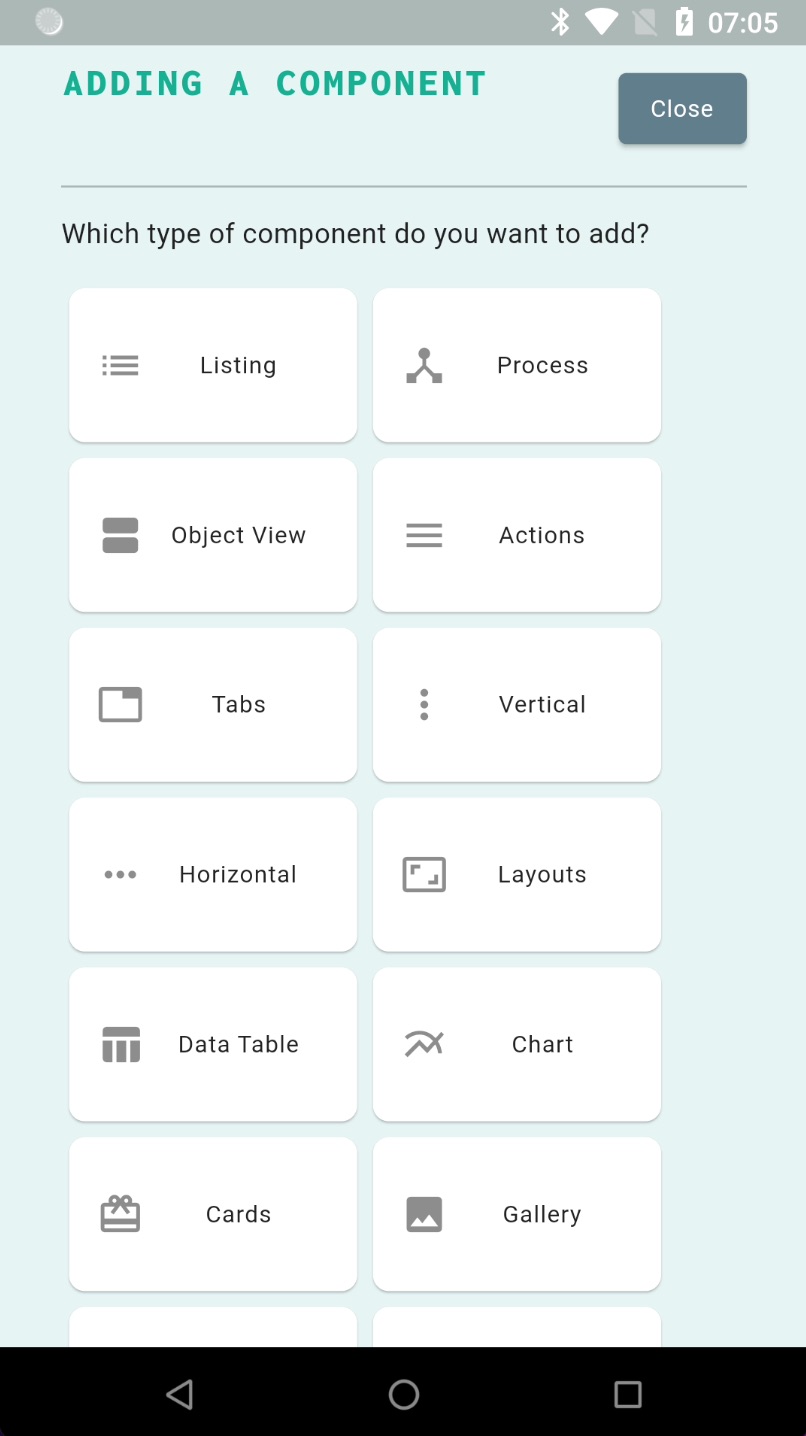
DevMode Add Component
Note
You have to be an authenticated user (have logged into the App) and be an Editor in the Project Space in order for this function to be permitted.You can add new Components to the App, just as on the Server.
However, to link a newly added Component in, you don’t drag and drop, but rather you edit a Component which is already in the App, and add the new Component as the destination of a transition there, or as included in that Component (if the Component is a Container Component).
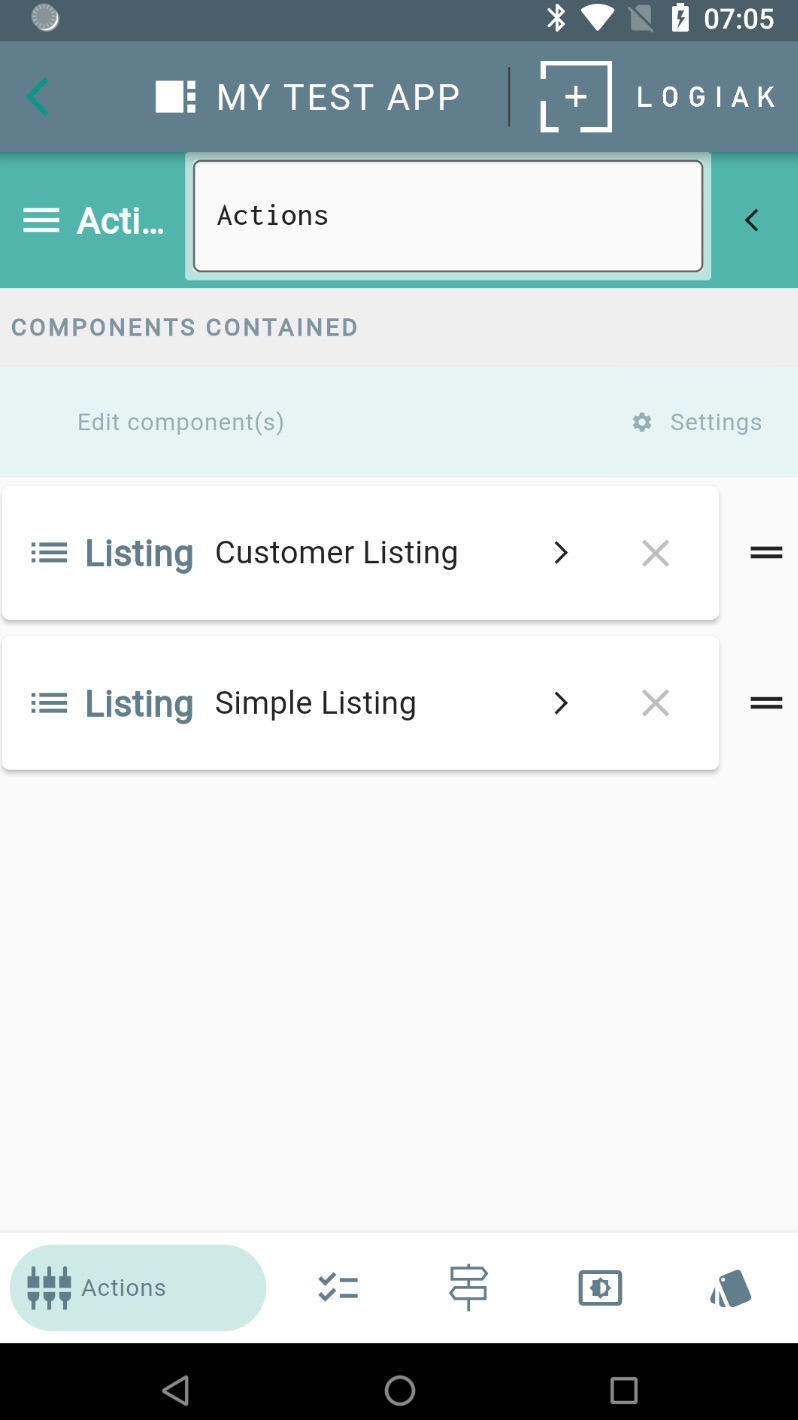
DevMode Edit this Component
Note
You have to be an authenticated user (have logged into the App) and be an Editor in the Project Space in order for this function to be permitted.Basically, with the Edit this Component option, you get access to the full functionality of the left pane of the Component Editor for that Component.
DevMode Zap this App
This is a function which clears the current App configuration entirely from the device, and presents you with the bare Logiak Runner App again, so that you can scan in a different QR Code - work on a different App.
3 - Access
Access
This tab is where you go for the information you need to get to use the App(s) you have defined in the Project on actual devices.
Mobile
Logiak Apps can be run on mobile devices running iOS and Android operating system.
For each of these systems, there is a Runner Apps available.
With a Runner App installed, you can download and run the Logiak App(s) you have configured.
More importantly for you as developer, you can give access to others to use your App(s)
TWO Access methods for Mobile
Your users can downlaod your App(s) in one of two ways
1. QR Code
For each App, you will see a QR Code in the Access Tab
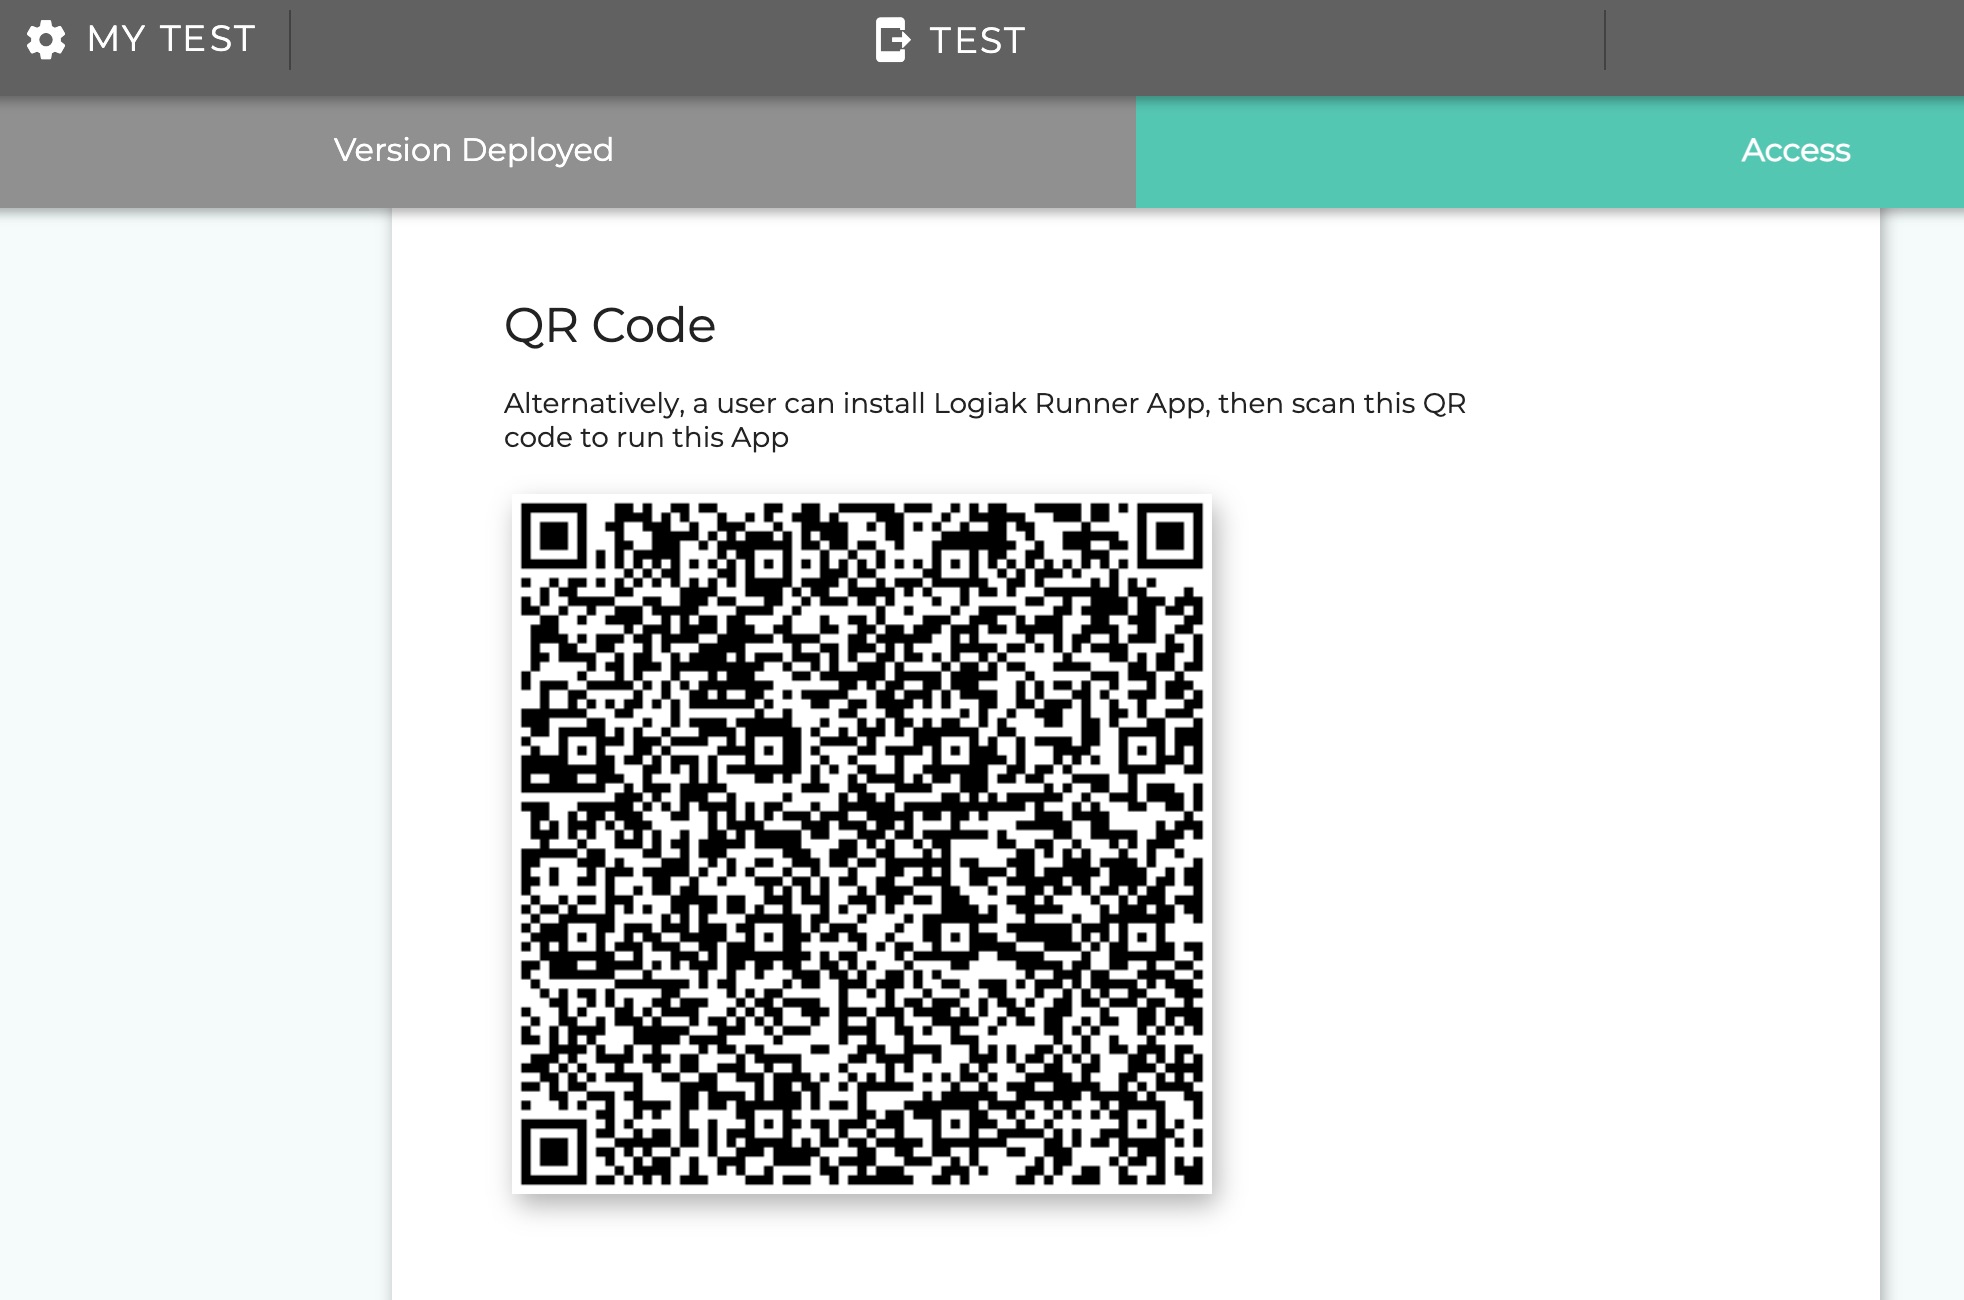
This can be scanned with a Runner App and the Runner App will transform itself into your App!
The user starts the scanner by clicking on the big QR code scanner button:
Init
Then the init starts, after completion of which, the Runner App becomes your App
2. Dynamic Link
A second method is via a Dynamic Link.

If you click on the copy icon and paste the dynamic link, for example, into an email, or in some other way make the link accessible to your users via their devices..
When a user access the link on a device, the device will do the following two things:
- Download and install the Logiak Runner App from PlayStore or AppStore
- Then download and run your App within the Runner App (no QR Code scan needed)
TWO Access methods for Web (URLs)
If the deployment uses Supabase as backend, you can also use the App(s) you have defined as webapps, and you can here define/get the URLs needed to call up those Apps.
1. logiak.app subdomain
2. Custom domain
4 - Runner Apps
Runner Apps for Logiak
What we are referring to as Runner Apps are native Apps available in Apple’s AppStore and Google’s PlayStore.
They are basically the supporting underlay which allows you to download and run the Apps you configure with Logiak.
AppStore (iOS - iPhone and iPad
PlayStore (Android)
On both devices, when you run them, the Runner Apps look like this:
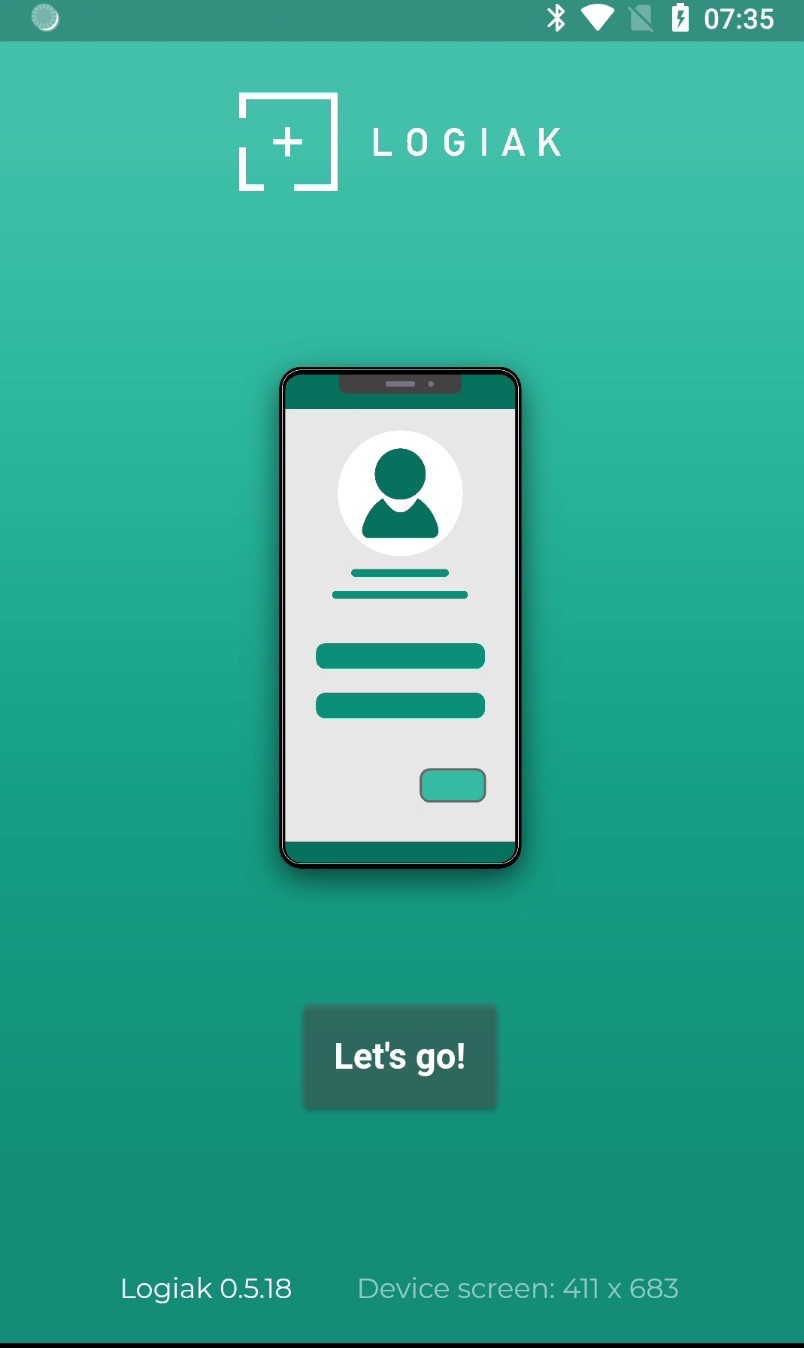
First screen
Second screen
Permissions
The user gives permissions when the “Let’s Go” button is clicked.
These permissions are the same for all Logiak Apps. They are not sensitive to the use or not of any capability in any particular App.
First screen
At the foot of the first screen, the current version of Logiak is shown on the left, and the dimensions of the current device, in Logical Pixels, on the right

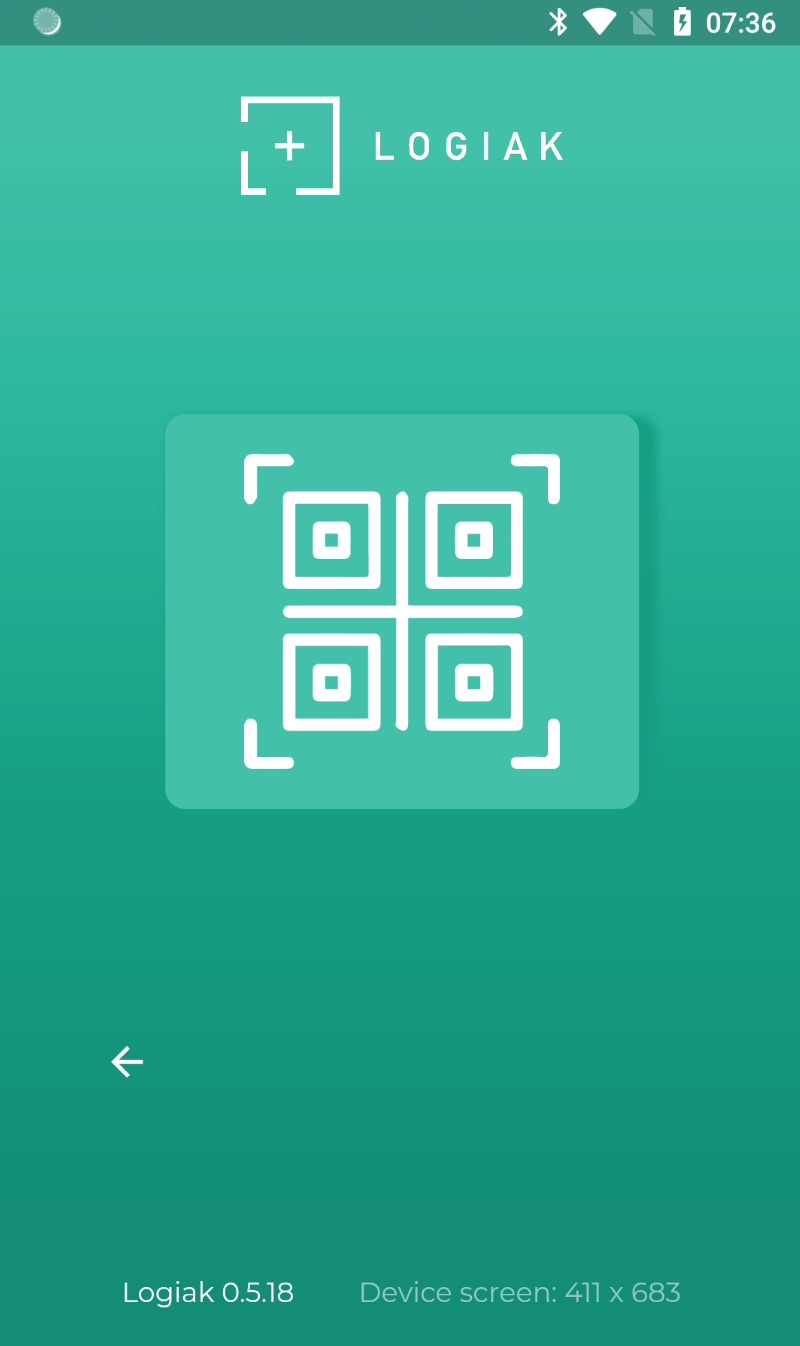
Second screen
The second screen gives you access to the QR Code scanner.
Scanning a QR Code is one of two ways your users can access your App.
The QR Code for any particular App is available from the Deployment’s’s Access tab. Hence, please note that a QR Code is really not for an App as such, it is for an App-in-a-Deployment (in fact, if you are using translations, it is: for an App-in-a-language-in-a-deployment)
5 - Using a Supabase Backend
Deploy project
5.1 - Set up of a Deployment using Supabase
Supabase Backend set-up is easy
Setting up a Supabase Project and getting it work with Logiak could hardly be easier.
The Logiak UI supports the set up Step by Step, which involves copying and pasting, and clicking buttons, according to clear instructions, and this is illustrated from beginning to end by the video you will find below.
Supabase Account
The only thing the video doesn’t show, which is of course a Precondition of doing an integration, is to get a Supabase Account. For that, it seems currently, you may need a GitHub account.

Supabase Set Up Illustrated
Here is a video showing the Logiak-Supabase integration from start to finish
5.2 - Correspondance of Data Structures between Logiak and Supabase
Logiak Objects and Supabase Tables must align
The decoupling of Logiak and the Supabase backend gives you a lot of freedom and 100% control.
However, a successful integration means that a Logiak Project and a Supabase Project must be aligned when it comes to the definition of data structures
Basically, to deploy a version of a Logiak Project successfully,
the Supabase Project must have a table corresponding to each Object (excepting State Objects) defined in the Logiak Project.
Happily, we think we have made this very simple for you -
Objects/Tables tab AUTOMATES the check
In a Supabase Deployment, there is a tab called Objects/Tables which gives you good support in ensuring this alignment.
Before deploying a version, visit this tab, select the Project version to be deployed, and Logiak will do the following:
- Query Supabase : find out what tables exist, and what columns they have
- Compare the tables with Objects in the Project Version selected
- Show the results of this comparison
- And offers you buttons which will allow mismatches to be corrected in Supabase automatically.
Example
Here is a video showing an example where Supabase contained no Project tables, and the administrator checks version 2 of the Project.
Logiak reports that four tables are missing.
Once a button is clicked, the missing tables are defined in Supabase, with columns corresponding to fields in the Logiak Objects.
Objects / Tables automatic alignment
Mapping: Unique field -> Primary Key
Unique key in Logiak object
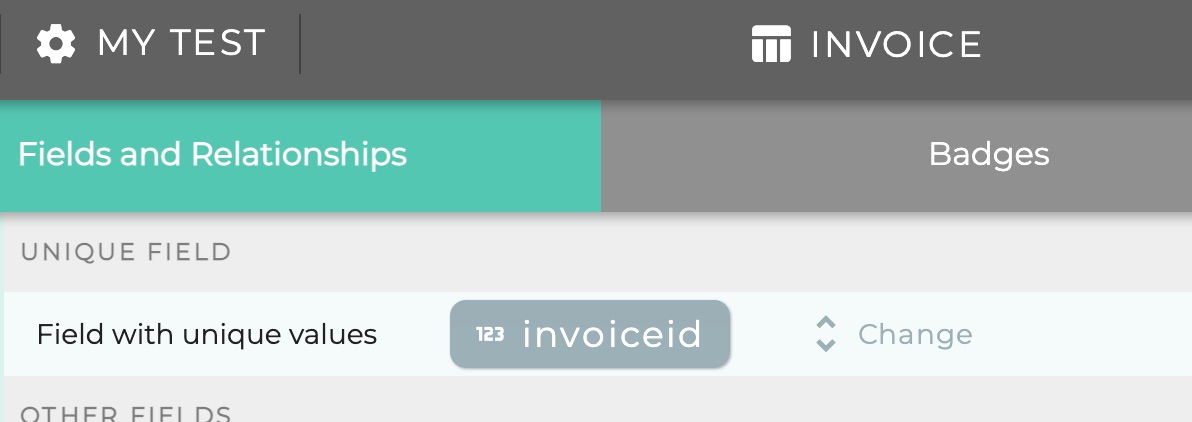
Becomes primary key in Supabase table)

Mapping: Relationship -> Foreign key
Relationship in Logiak object
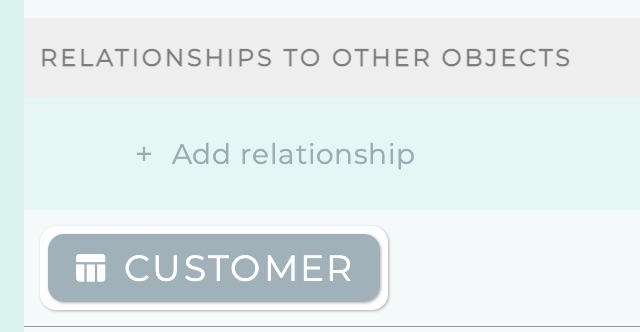
Becomes foreign key in Supabase table
Type determined by primary key of customer table

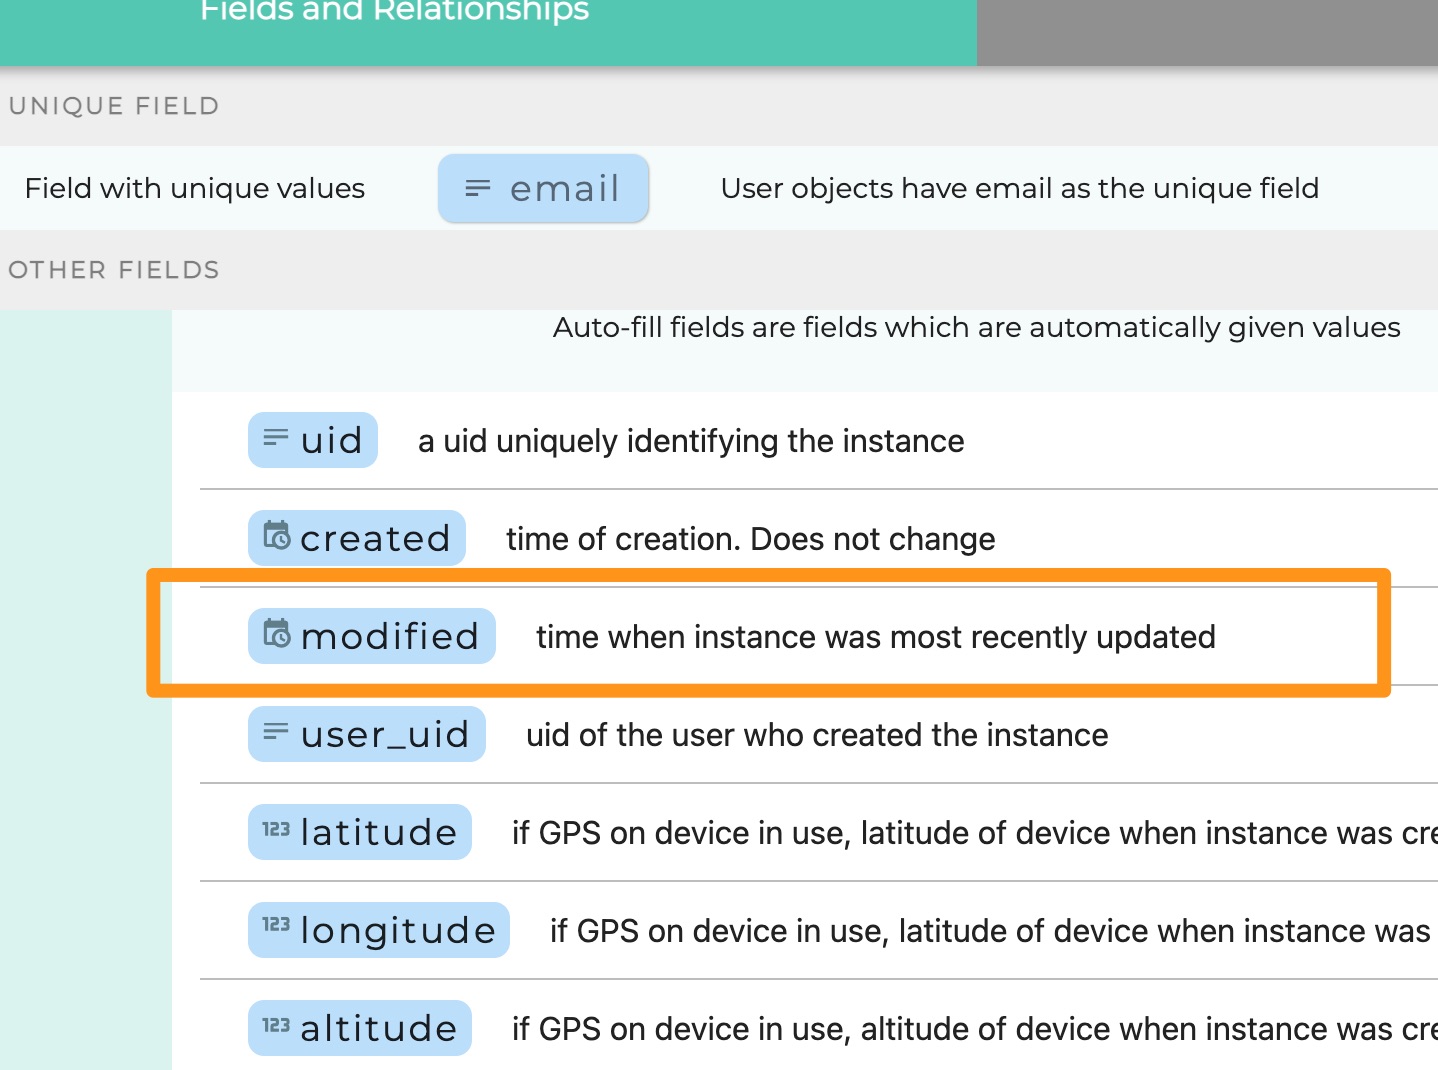
Mapping: Date fields -> timestamp columns
Date fields in Logiak

Become timestamp columns in Supabase table)

Mapping: True/false fields -> bool columns
True/False fields in Logiak

Become boolean columns in Supabase table)

Mapping: Number and text fields -> numeric and text columns
Number and text fields in Logiak

Become numeric and text columns in Supabase table)

5.3 - How to deploy a new version
A version is a snapshot of a Project
Versioning is one way of maintaining control of a Project, and can be particularly important if you are working in a Team Space, building a Project with colleagues.
To take a Version is to take a snapshot of the whole project.
Choosing to deploy a new version is a separate step.
How to DEPLOY a new Version
5.4 - Supabase Replication
What is Replication?
From the Supabase docs: “Replication is a technique for copying the data from one database to another”
How Logiak uses Replication
Logiak has two main uses for Replication -
1. Remote deployment
Logiak supports the remote deployment of new versions of a Project.
To understand what is meant by this, consider:
- you have your users, and they are using a Logiak App you made
- you notice that your App needs some changes. you make the changes and take a new version.
- you deploy the new version
What we mean by “Remote deployment” here is that when you deploy the new version, you would like all devices to get notified, and let the users upgrade. You don’t want to always have to phone everyone, or send an email to everyone. Should be automatic.
Thanks to replication, it is.
- At setup, we create a logiak_version table.
- When you deploy a new version, a new row is created in the logiak_version table
- If Replication is enabled for the logiak_version table, then
- Supabase will automatically send a notification of the change in logiak_version.
- Devices will download the version
- Devices will show an upgrade button
2. Data sharing between devices
The second use Logiak Projects make of Replication is in data sharing between devices.
If Replication is turned on for all tables, not just logiak_version, then any database change on any device will be quickly reflected on all connected devices.
This is important for collaborative systems.
Synch reconciliation
This data sharing is magic, but it is not flawless. A device can lack connectivity when Supabase sends notification of a change and there is not a queue where such notifications are stored for each device until they are back online.
In a database application, where it is important to keep reasonably in sync with the master copy of the data, this can be a big negative.
With Logiak , we have implemented a corrective mechanism at Login:
At Login, if an Object has an auto-fill modified field, if there is connectivity, Logiak will check at the master (Supabase ) for all rows of the corresponding table whose modified date is later than the latest in the database on the device, and retrieve those records.
5.5 - Supabase Storage
Storage Bucket
At the set up of a Supabase Deployment, we create a Storage Bucket.
The purpose of this is to hold any media which is created by use of your Project’s App(s).
Within Processes, you can be having users take photos, record videos, record audio.
These can be big files, which are not well stored in a normal database.
Instead, references to them are stored in the database, and the files themselves are uploaded to the Supabase Project’s Storage Bucket.
Free Tier Storage limits
500MB database & 1GB file storage
5.6 - Upload data to Supabase from a Google Sheet
Starting a Project with existing data
If you are starting a project which already has some associated data, you can incorporate that data into the Project in various ways.
Static data
If the data you have is static data - not primary data for the Project which you want to collect and change, but instead some reference / lookup data, then one option is to include it in your Project configuration via a Table Object.
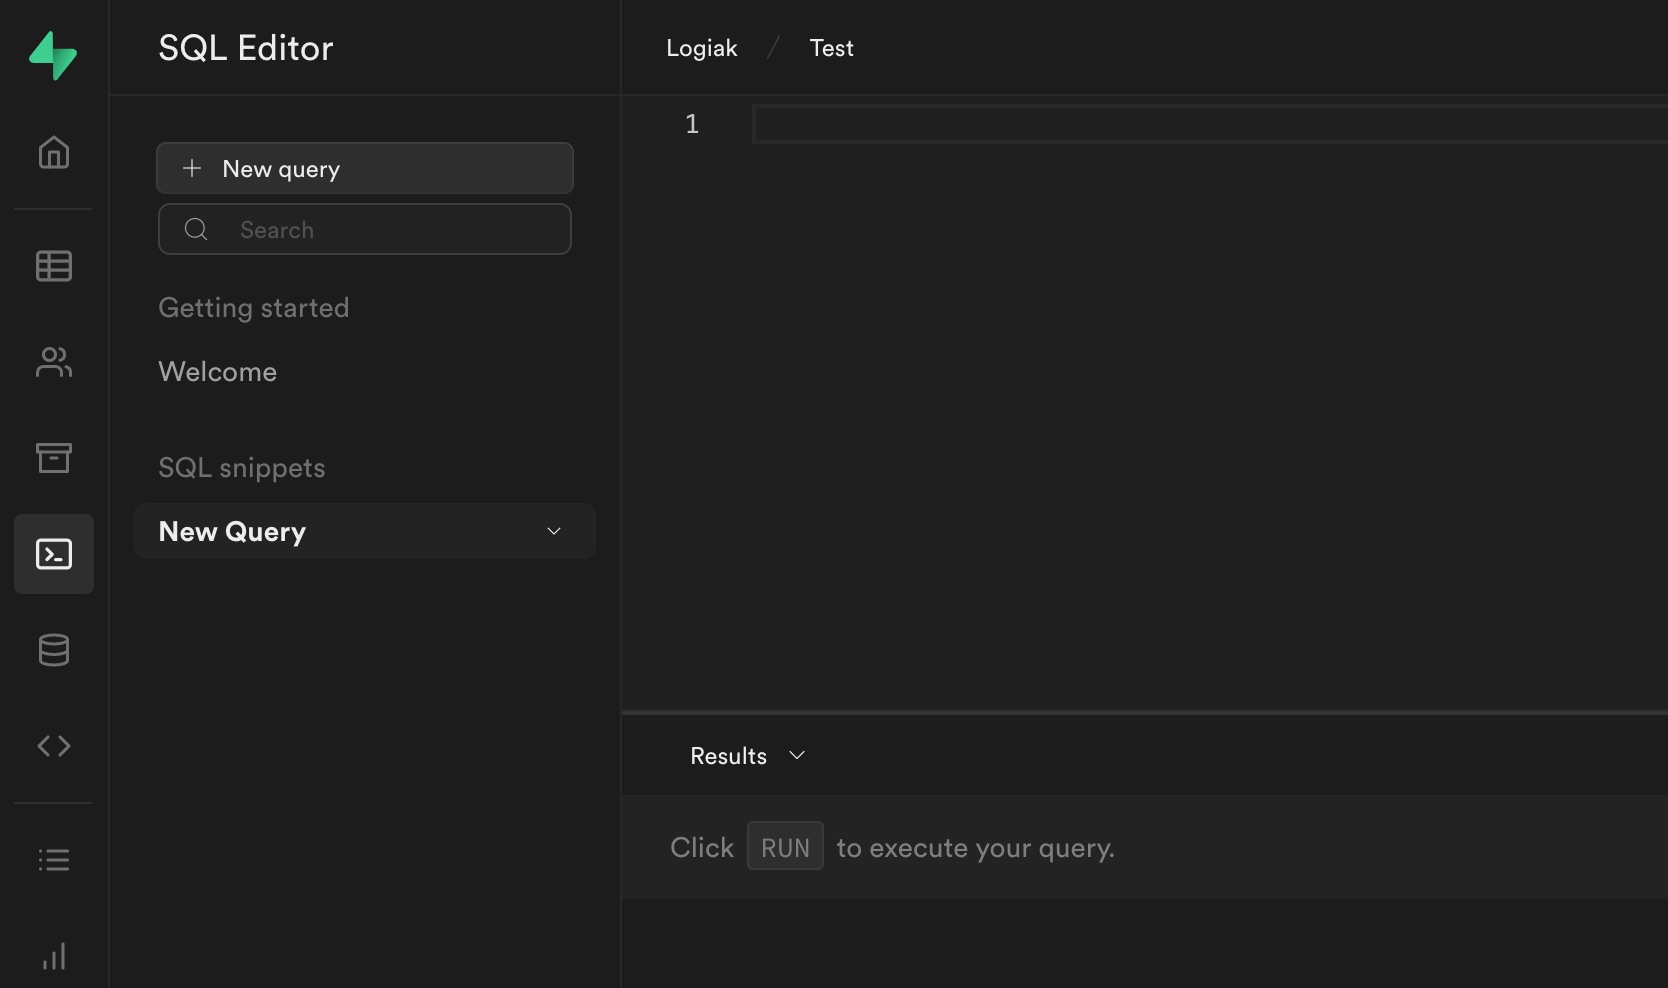
Using Supabase SQL
Alternatively, if you now SQL, you could seed the data into Supabase by making use of the SQL Editor and running queries to insert data.
Using Logiak Upload
Another option is to make use of the Deployment’s Upload tab.
The following are required:
- The data must be in a Google Sheet, with the first row containing column headers/field names/column names
- The table structure must exist in Supabase
- (you can do ensure this automatically from Logiak Object definitions)
5.7 - Limits of the Supabase FREE Tier
The Supbase FREE plan has limits which you should be aware of.
Server Pausing
Probably the most significant limitation of the FREE tier is possible pausing of your server!
This may happen if your project is not queried at least once every 7 days, so if your project is in continual use, you should be ok, but the only way to guarantee this wont happen is by upgrading.
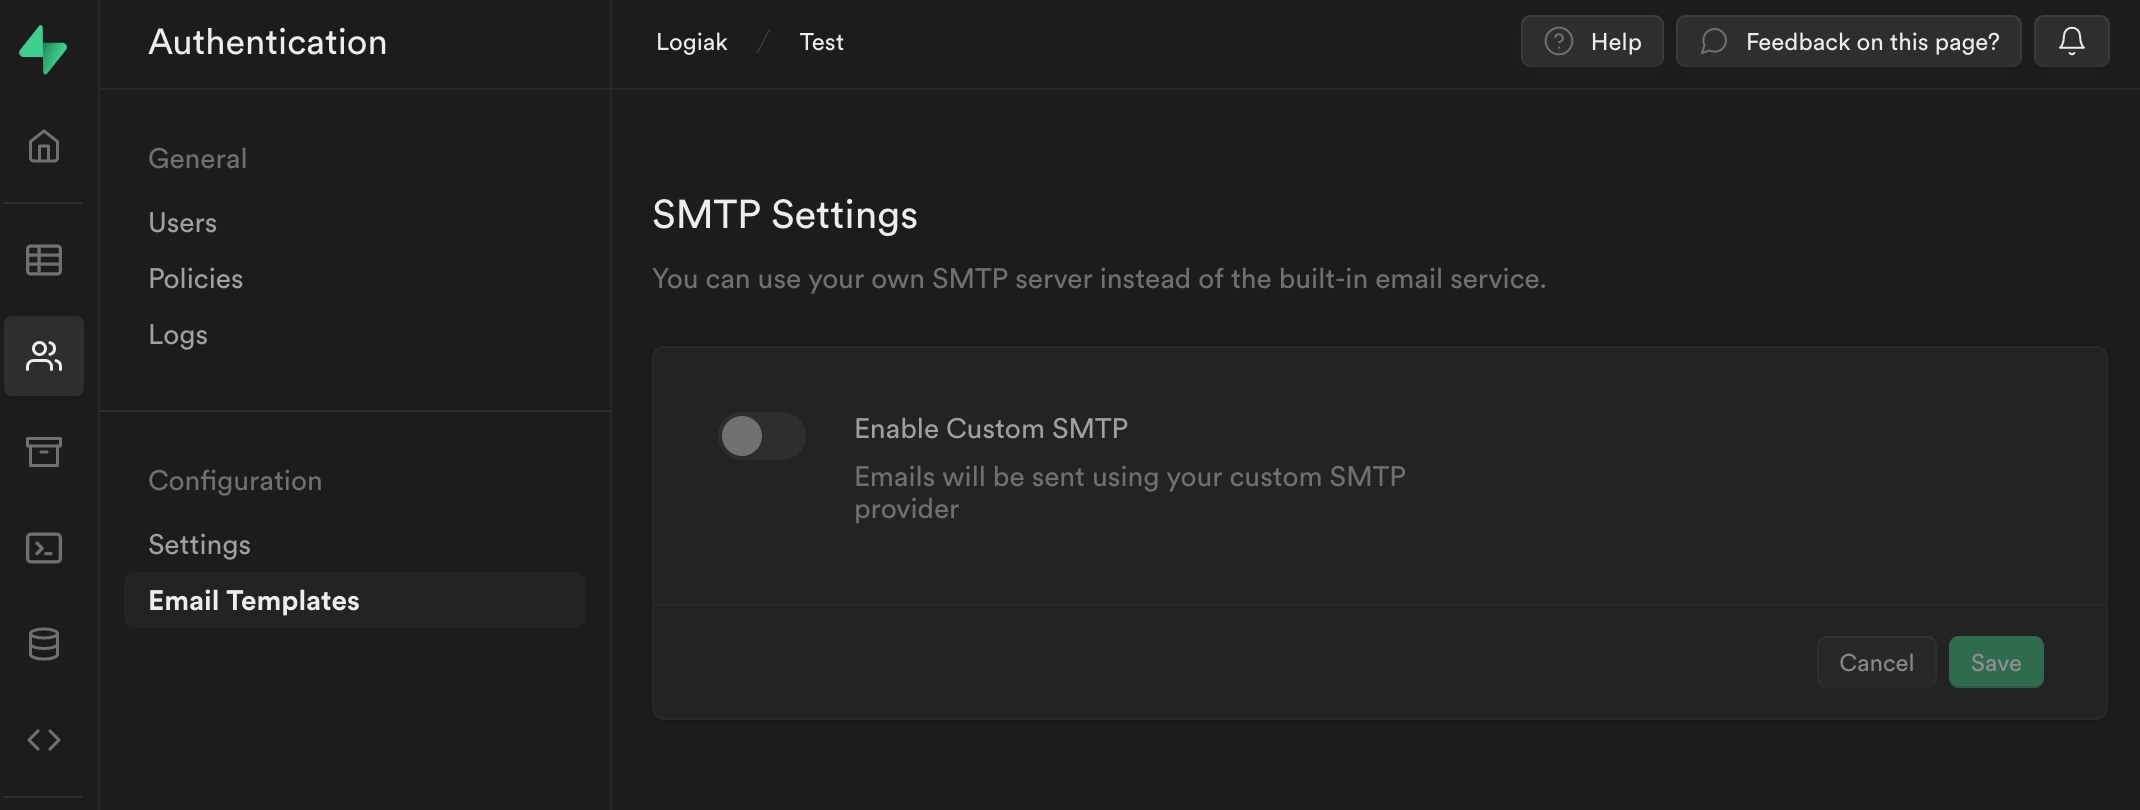
Mail limits
The default rate limit for auth emails provided by Supabase is 30 new users per hour.
You may want to consider using your own mail credentials.
Storage limits
Up to 500MB database & 1GB file storage
5.8 - How an end-user signs up to a Logiak App/Supabase Project
End-user accounts
End user accounts are those listed in the Supabase project
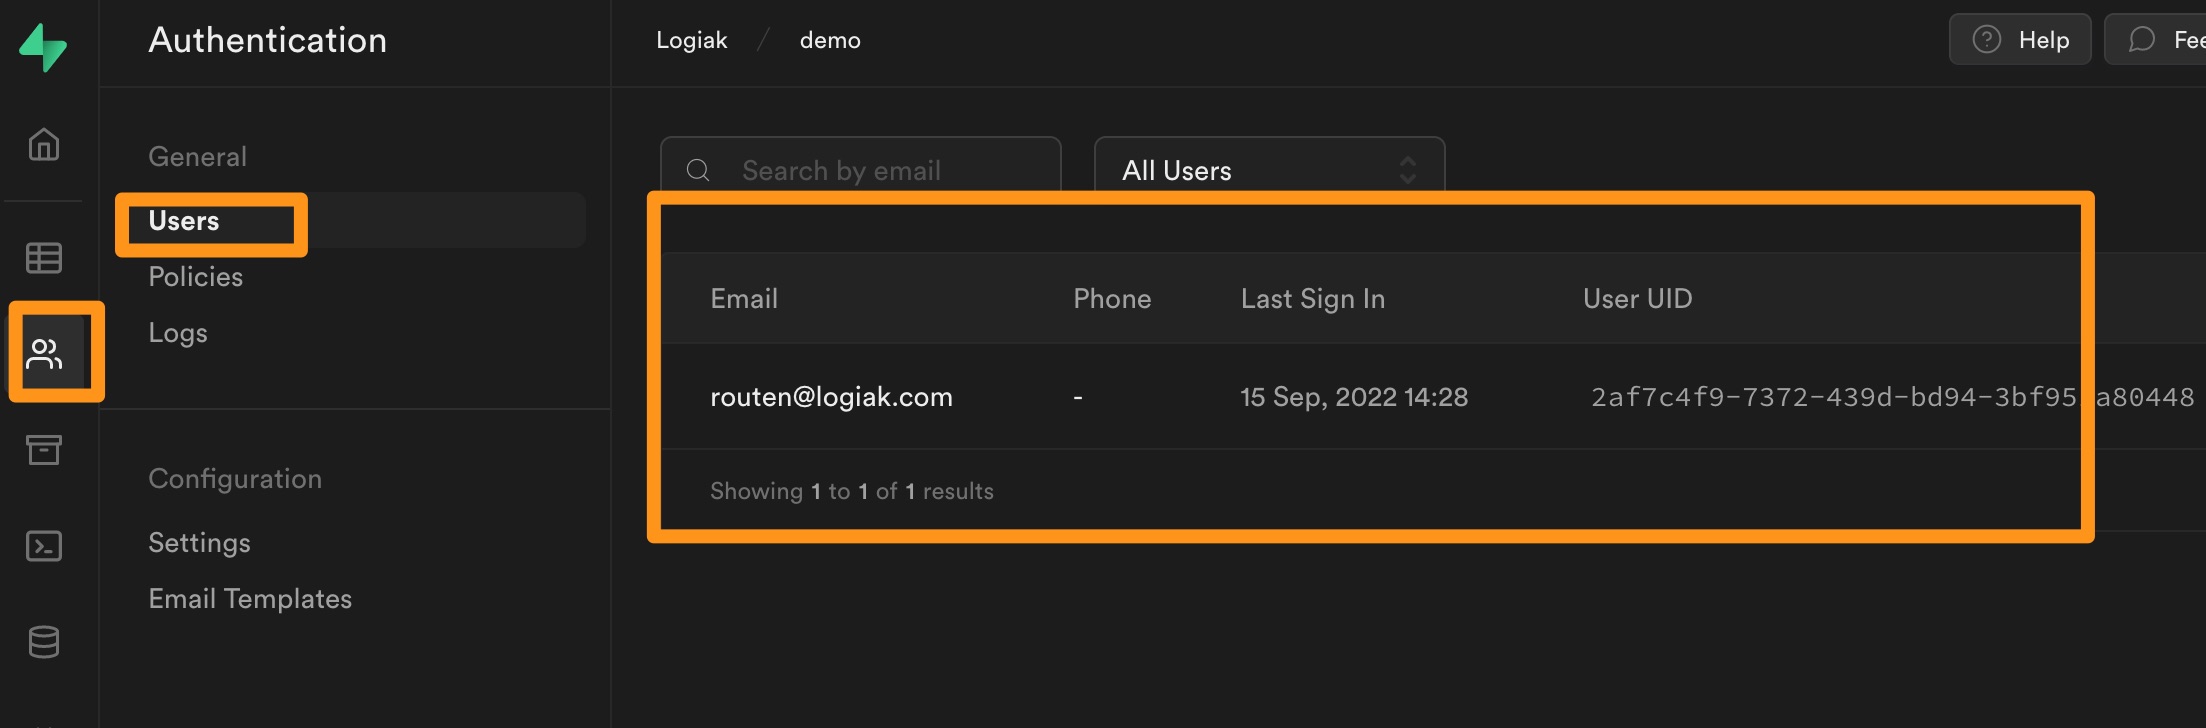
Without any special configuration, all end users in the Supabase project can login to Logiak Apps which are connected.
Two ways to CREATE end user accounts
There are two ways to create end user accounts
- Manually invite
- Let users sign-up
Invite end users
You can manually invite people to become end users by clicking the Invite button and entering an email address.
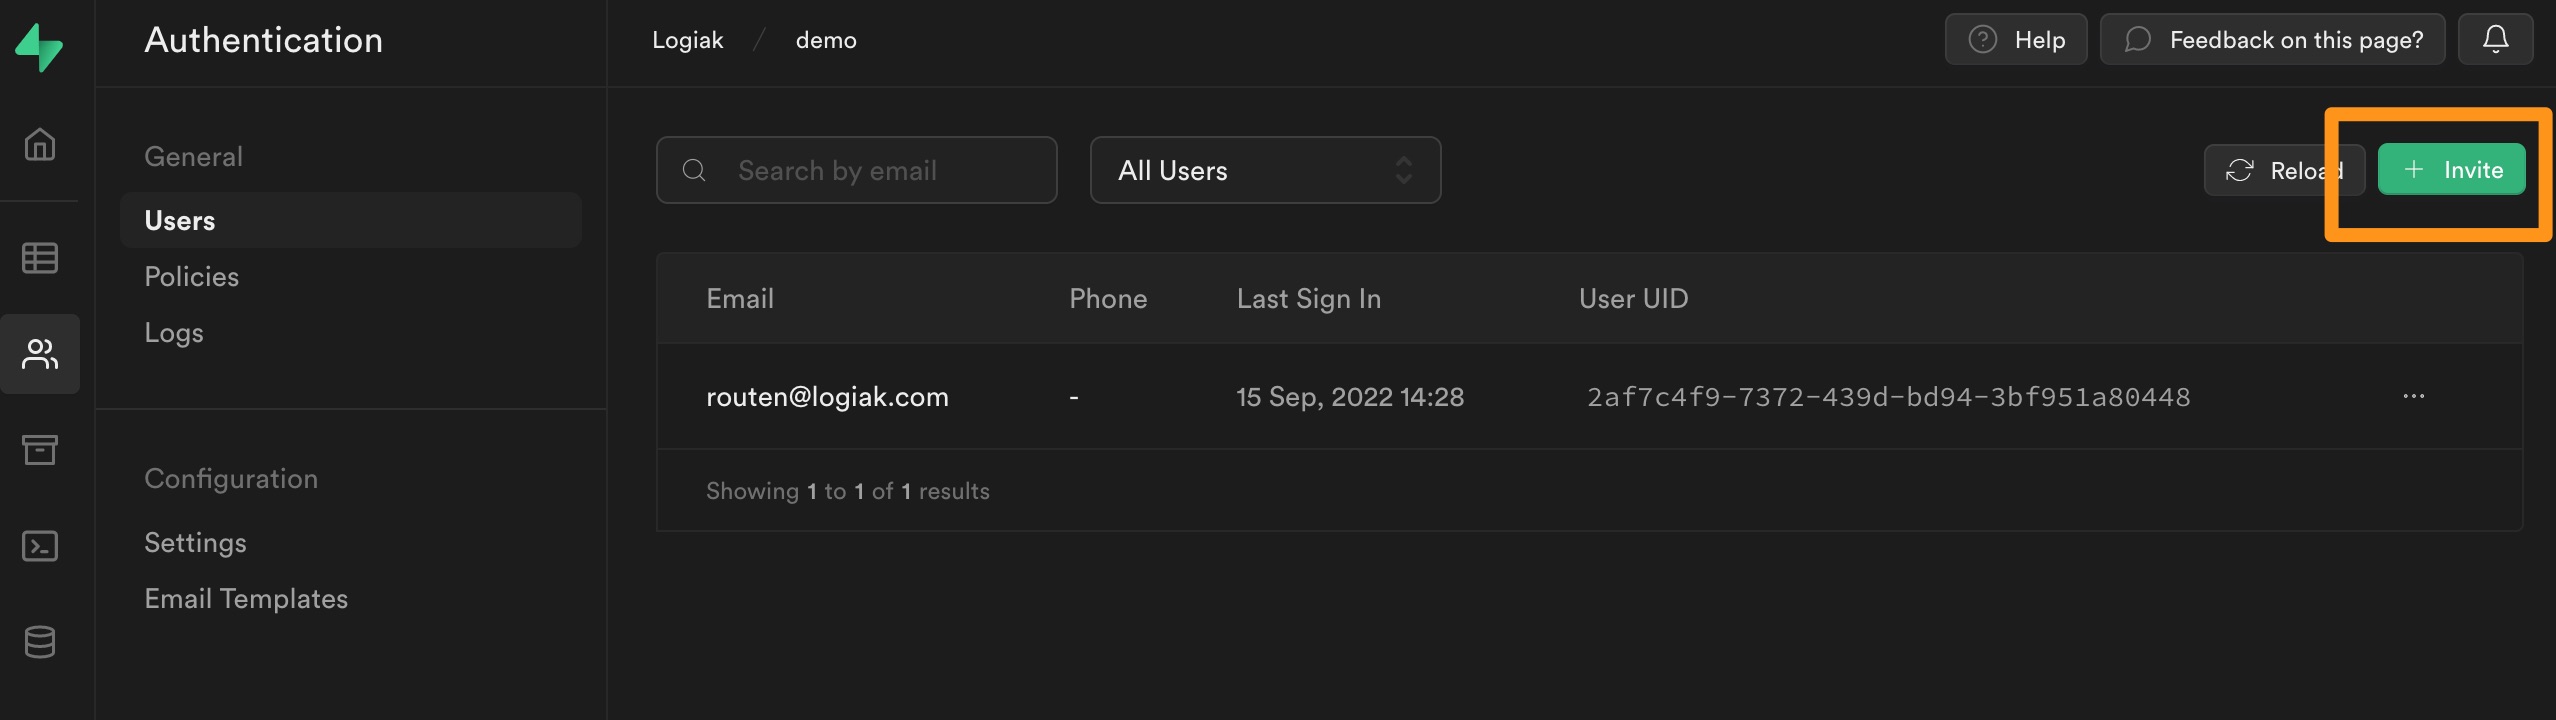
If you want to keep your project very secure, you could do this manual invite and configure the Login component in your App to not show a “sign-up” button.
Then the manual invite would be the only way someone could become an End User.
Permit people to Sign Up
By default, the Login component shows a Sign-up button.
Clicking Sign-up asks the user for an email and a password.
Then it does the following:
- it creates an End User in the Supabase project, awaiting validation
- sends the user an email to the address given with a link. Clicking on the link will validate the Supabase End User account.
- Feedback message appears to confirm Sign Up
Then the user has successfully signed up, and will be able to login to the App.
Here is that process illustrated:
Example of End User signing up
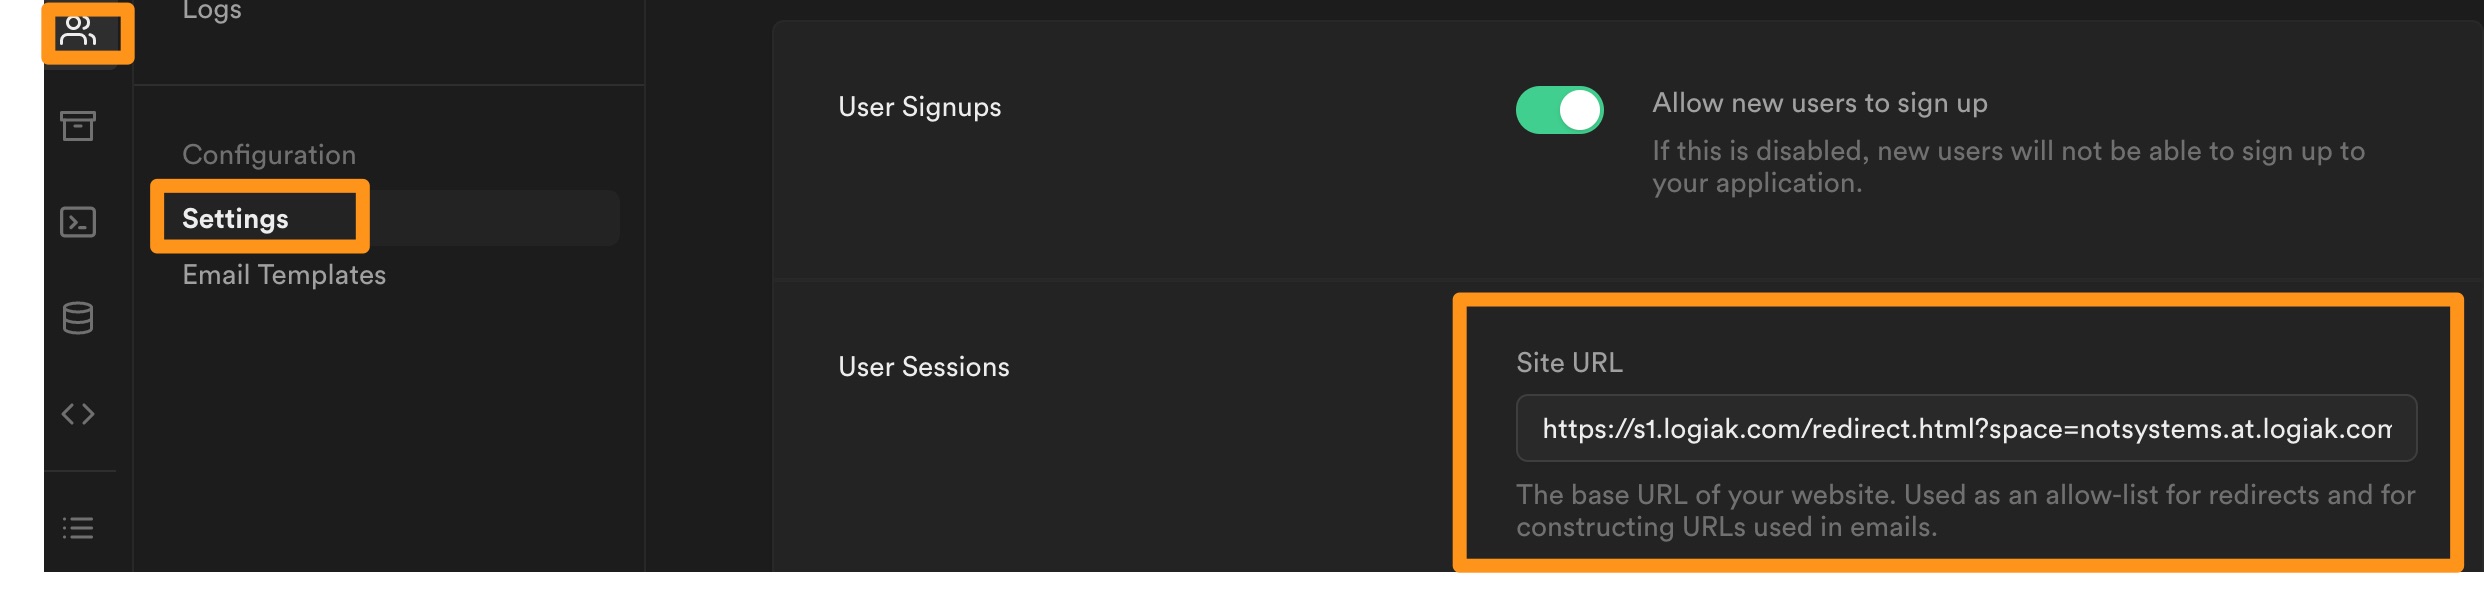
For the above to work, the setup step which requires the copying and pasting of the Site URL must have been completed correctly.
If sign-up is not working, please go back to the Deployment’s Set Up tab and check this.
6 - Using a Firebase Backend
Set up
6.1 - Set up of a Deployment using Firebase
Firebase Backend set-up is easy
Setting up a Firebase Project and getting it work with Logiak could hardly be easier.
The Logiak Deployment UI supports the set up Step by Step, which involves copying and pasting, and clicking buttons, according to clear instructions.
6.2 - Firebase Storage
Storage
7 - Using a Device Only
Device Only deployments
FREE
This kind of Deployment is available on the FREE tier.
With this kind of Deployment, you can run any Apps you create on mobile devices.
No backend
It is limited in the sense that no backend is connected, so data created on the device is not backed up in the cloud, and would be lost if the device is lost or the data on the device is corrupted in some way.
Authentication is via Google
Without a backend, there is also no platform to provide authentication, so for Device-only deployments, Google authentication is used.
This way, you can make use of User Profiles, email autofill fields, etc,