This is the multi-page printable view of this section. Click here to print.
Media
1 - Media
Media in Logiak
When we speak about Media in Logiak, we are talking about Images, Videos and Sounds.
There are two kinds of media - media which you record with Logiak Apps, and media which are included as part of the Logiak App configuration.
Here we are explaining the latter - how to use media within the configuration of an App.
Information regarding what is involved in recording media is found in Process documentation.
Using Media within Apps
Images, Videos and Audio can be used in all components, and in Process steps.
For almost all components images/videos can be set as backgrounds for head or body, as with the default Login component created with each App.
Gallery and Cards components are particularly concerned within Media.
Media can be used instead of links in Actions.
Media can be included within the Info component, via HTML or Markup, and can be done in exactly the same way for questions texts within Process interactions.
Media can be used also for various specialist reasons - such as a camera mask for the Photo interaction.
How to add an Image from search to the Project
How to add a Video from search to the Project
How to add your own Image to the Project
But what if you have media files which are not hosted anywhere?
Well, assuming you will be using either Supabase or Firebase as the backend, Storage is available with both of them.
How to use Supabase Storage for custom media
This video shows
- how to create a storage “bucket” in a Supabase project
- how to put a media file into the bucket (drag and drop)
- how to obtain the URL of that media once within the bucket
2 - Media
How to use Media within a Process
There are three steps to this.
- Add the media you want to use to the Project
- Copy the media’s URL
- Use the URL within an interaction
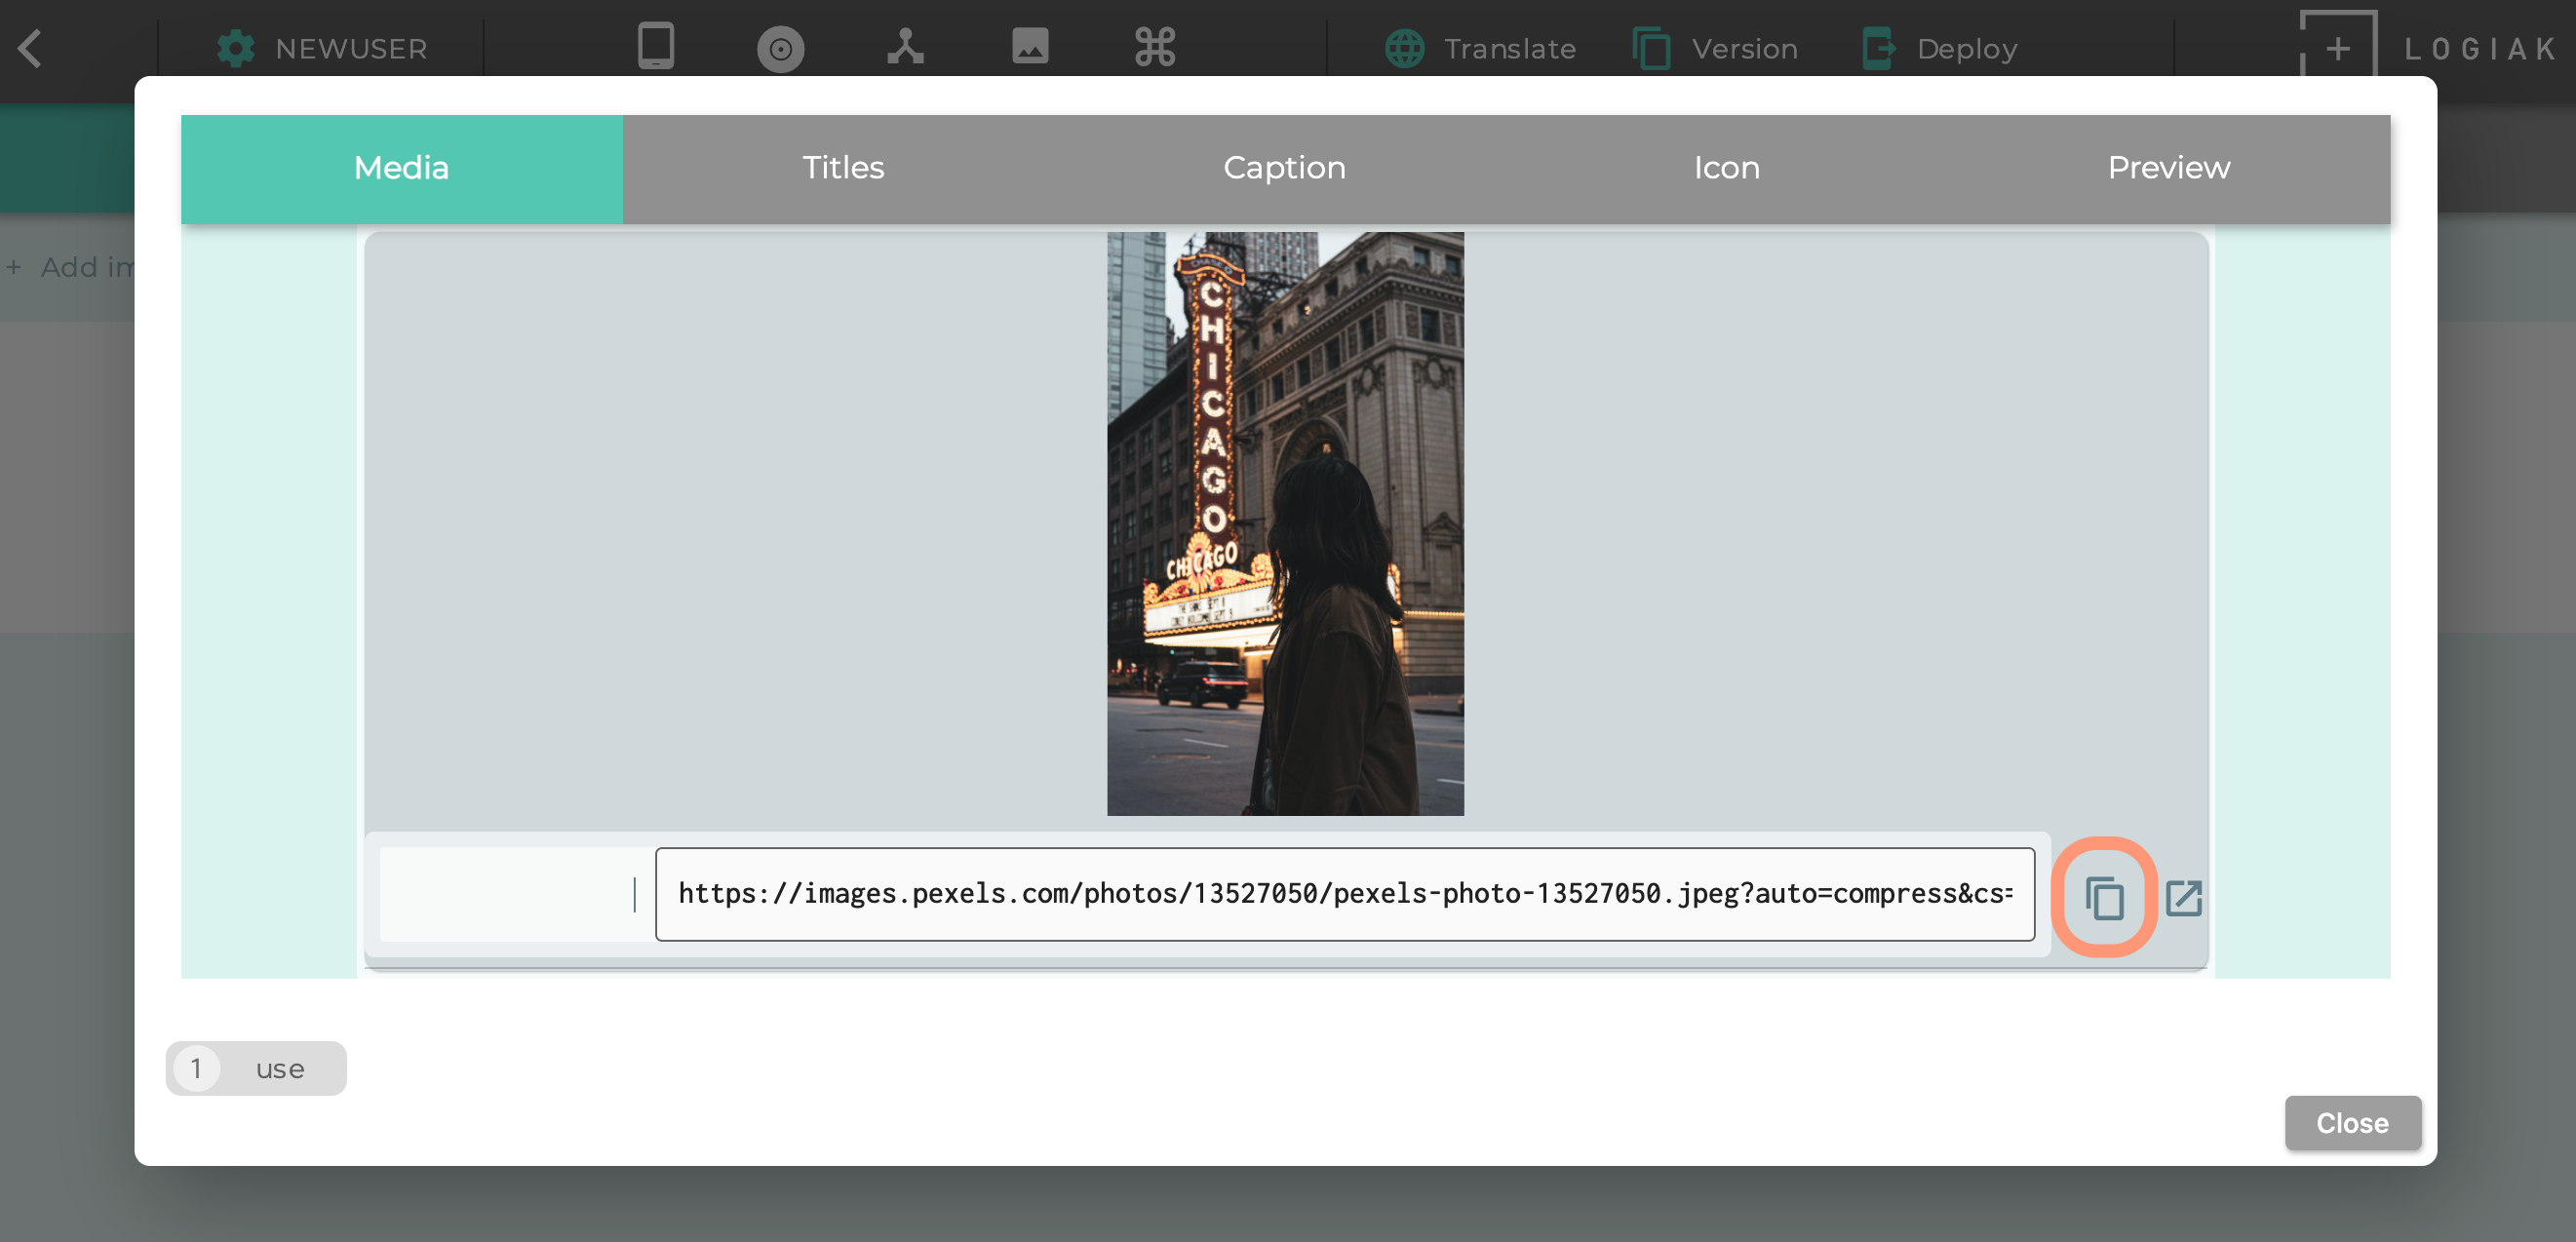
2. Obtain URL of media
Once you have added media to the Project, you can click to edit the Media and you will see the URL and a copy button
3. Use URL or reference to Media within an interaction
To include media (images, video or audio) within an interaction, you can include them within HTML tags.
If you don’t know about these tags, don’t worry: as long as the Media is included in the Project, this task can be achieved by a simple copy and paste as shown in this video